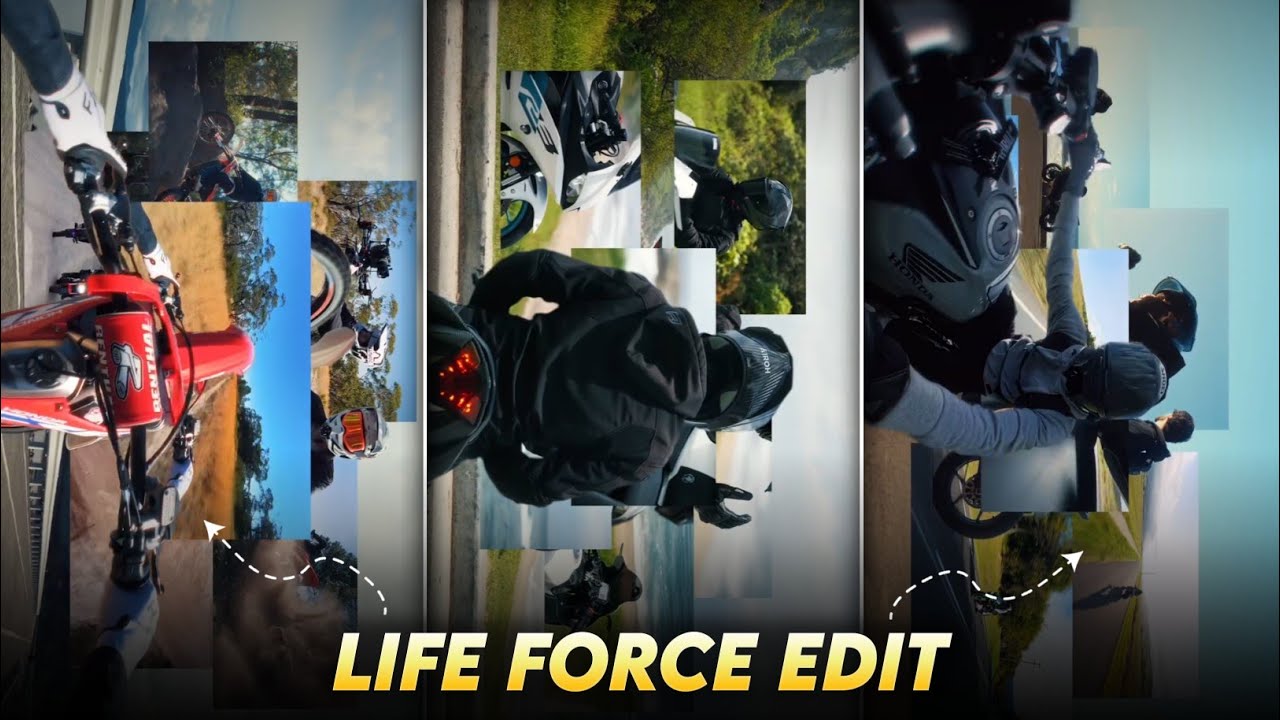
What you just saw is called Life Force Editing – a style that’s currently going viral across social media platforms. In this tutorial, I’ll show you exactly how to create these trendy edits using the CapCut app — no PC required!
🎬 Step 1: Set Up Your Project in CapCut
Open your CapCut app and click the plus (+) icon to start a new project. Choose your desired video clips from the gallery. You can pick background footage, modeling clips, or anything that fits your style.
Once imported:
-
Go to Ratio and set it to 9:16 for Instagram Reels or TikTok, or use 16:9 for YouTube Shorts depending on your preference.
-
Tap Done to proceed.
🔇 Mute the original audio of your video by setting the volume to 0.
🎧 Step 2: Add the Original Edit Audio
Click Add Audio > Extracted, and choose the reel or audio file you’re using for the edit. This will be your main beat guide.
Now:
-
Tap the audio layer.
-
Select Beats, and begin adding beat markers.
🎶 Pro Tip: Listen to the audio carefully. Every time the waveform drops (a beat), tap to add a marker. This will serve as your visual cue for cutting or syncing clips.
📌 Step 3: Align Video Clips with the Beat
You’ll typically be working with 6 beat markers per “wave” or “mountain” in the waveform. Add clips between these beats to create synchronized visual edits.
Steps:
-
Select the clip and Split it at the 8th beat marker.
-
Remove excess footage.
-
For the next section, add another clip of the same length (match waveform length).
Repeat this for all beat-marked sections.
🧠 Beginner Tip: If you find beat matching hard, I’ve provided the total duration of all 12 clips — just follow that as a template to sync perfectly.
🎨 Step 4: Add Overlays & Crop
Head to the Overlay section:
-
Add overlay clips.
-
Tap Edit > Crop, and set the ratio to 1:1 (or as needed).
-
Adjust the position and size.
Place each overlay clip precisely on its beat marker. Repeat the process with all clips.
🎥 Step 5: Add Animations
Now let’s add motion effects to spice things up:
-
Tap a clip > Animation > In
-
Use Rock Horizontal for a subtle shake.
-
Set the duration to 0.1 seconds
-
For the last clip, set duration to 0.2 – 0.3 seconds for added impact.
⏩ Pro Tip: Once one section is complete, Copy & Paste the clips to the next set of beats to save time!
✂️ Step 6: Use the Cut-Out Feature for Advanced Edits
For that final punch:
-
Select a clip > Freeze Frame
-
Convert it into an Overlay
-
Trim and split it at the beat markers.
-
Use Remove Background under Cut-out
-
Add keyframes: Start low, rise midway, and stabilize.
Also, apply an Unfold Animation (0.4 sec) to bring smooth transitions.
✅ Final Touches & Export
Once everything is set:
-
Preview your edit
-
Export the video in high resolution
-
Share it across social platforms
🛠️ Tools You’ll Need:
🙌 Wrapping Up
There you go, guys! That’s how you make a perfect viral Life Force edit using just your phone and CapCut. It might seem complex at first, but once you get the hang of syncing beats and arranging clips, it’s actually quite simple.
👉 If you liked this tutorial, please like, subscribe, and leave a sweet comment. Let me know if you’d like more such editing tutorials.
📅 See you tomorrow with a brand-new video!
Bye, Tata, and Take Care!
For Creating it Directly