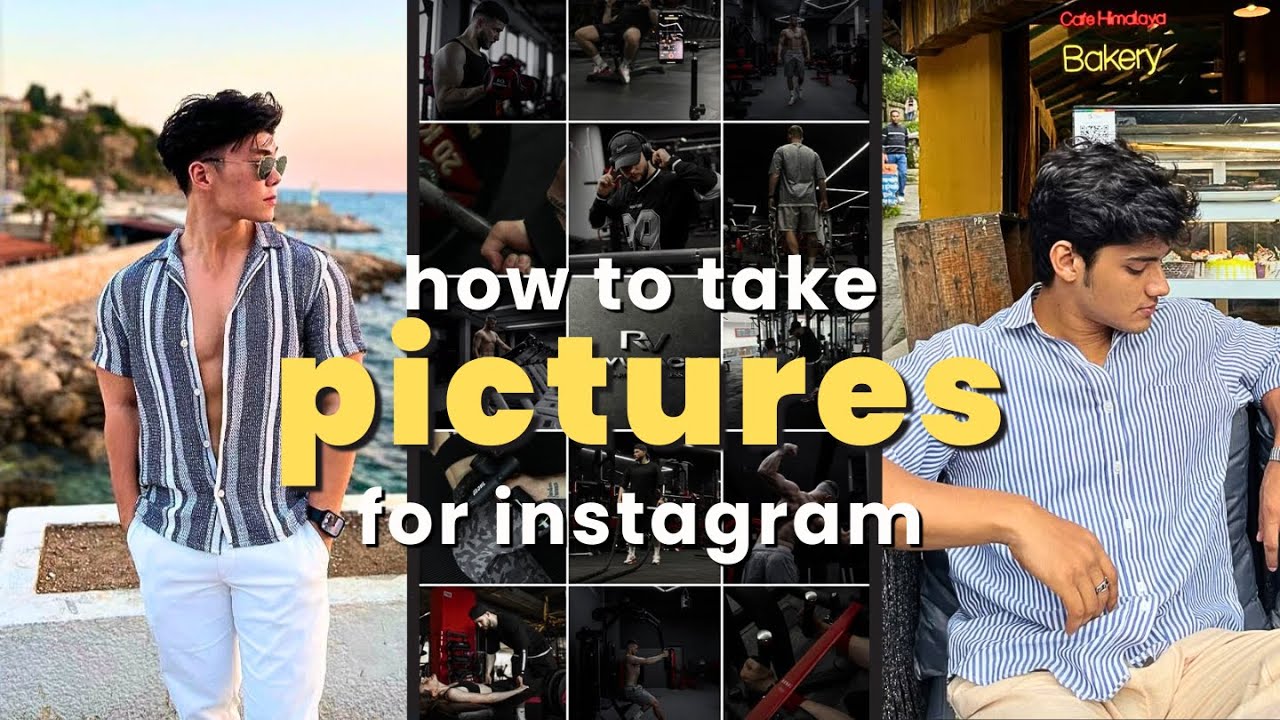
Do you want to take amazing pictures like this, this, and this? If yes, this post is for you!
In today’s world, knowing how to take good quality pictures of yourself is an incredibly valuable skill. Whether it’s for your Instagram profile or your personal brand, your photos often make the first impression—even before someone meets you in person. So, read till the end. By the time you’re done, you’ll be a pro at capturing stunning photos of yourself!
Step 1: Start With the Right Equipment
If you already have a camera—great! But if you don’t, no worries. You don’t need a DSLR to take good pictures. Today’s smartphones have excellent cameras that are more than enough for high-quality shots.
However, if you’re taking photos alone, consider investing in:
-
A tripod – Affordable tripods on Amazon
-
A Bluetooth remote shutter – Buy a Bluetooth clicker
These will solve the problem of setting timers or asking strangers to take your photo.
Step 2: Try These Trending Photo Styles
Here are some popular photo styles you should definitely experiment with:
1. “Don’t Notice the Camera” Shots
These photos look natural, like candid moments. Pretend the camera isn’t even there. Engage in some action like sipping coffee, reading a book, cooking, or scrolling your phone. These create an effortless vibe.
2. Outfit Highlight Shots
These are all about showing off your fit. Fun fact—some outfits that look basic in real life look amazing in photos, and vice versa. The secret is contrast:
-
Simple outfit = colorful or busy background
-
Bold outfit = plain or minimal background
3. Tasteful Selfies vs. Disasters
Selfies can either be classy or totally off. Some cool selfie ideas:
-
Jawline selfie
-
Masculine back selfie
-
Face-lit selfie
-
Gym selfie
Not every selfie has to be perfect. Candid and funny selfies that show your authentic side are just as important.
Also try these:
-
Look-away aesthetic
-
Blur shots
-
Coffee shop aesthetic
Step 3: Master Your Posing Game
To look confident and composed in photos, follow these posing tips:
-
Stand tall, relaxed shoulders
-
Feet shoulder-width apart
-
Extend your limbs—don’t keep hands and feet stiff
-
Use props like a water bottle, phone, or coffee cup to make poses feel natural
-
Use your pockets—one hand in the pocket instantly relaxes your pose
Want inspiration? Head over to Pinterest and search for pose ideas. Save the ones you like and practice them in front of a mirror. It might feel awkward at first, but with practice, your poses will improve dramatically!
Step 4: Understand Lighting – It’s Everything
Lighting can make or break your photo. For the best natural light:
-
Shoot during Golden Hour – 1 hour after sunrise or 1 hour before sunset
-
Cloudy days are great too – soft light and no harsh shadows
-
For indoor shots, shoot near big windows to get that real and soft lighting
Good lighting = amazing photos. Simple!
Step 5: Enhance with Light Editing
Clicking great photos is just one part. A little editing can elevate them even more. You don’t need to edit every photo, but here’s how to enhance the best ones:
-
Crop out distractions and focus on the subject
-
Adjust brightness, contrast, and saturation
-
Use color grading to set the mood
-
Don’t over-edit—keep it natural and real
-
Embrace small imperfections—they make your photos feel genuine
Best Mobile Editing Apps:
-
Adobe Lightroom Mobile – great for brightness, color grading, and contrast
-
Snapseed – ideal for detail enhancements
-
PicsArt – for creative edits
Want to learn editing? Just search Lightroom or Snapseed tutorials on YouTube—there are tons of helpful guides!
Final Thoughts
Taking cool pictures is a skill. Just like models take hundreds of photos to get that one perfect shot, you’ll need to click a lot and practice consistently. Over time, you’ll naturally get better.
And remember—photos may look different from what you see in the mirror. That’s normal! The mirror shows your reflection (reverse image), while photos show how others see you.
So go out, practice, and start capturing your best self!